Local Setup
Overview
For development, run only the service containers: PostgreSQL, Redis, SuperTokens, and Typesense. Run the server and the webapp on your host, with hot reload. These containers publish their ports on localhost for this purpose.
You need these tools:
- Node.js 20 or later
- pnpm 10. To install it, run
npm i -g pnpm@10. - Docker, or Podman with the compose provider
Steps
- Clone the repository and make your
.envfile. The default values work for local development.
git clone https://github.com/cmunte132/vantik.git
cd vantik
cp .env.example .env
- Start the service containers only. This command starts no webapp and no server.
docker compose up -d postgres redis supertokens typesense
- Install the dependencies and apply the database schema.
pnpm install
pnpm migrate
- Run the server on port 3001 and the webapp on port 3000, with hot reload.
pnpm dev
If the full stack already runs in containers, the app ports are in use. To free
them, run docker compose stop webapp server.
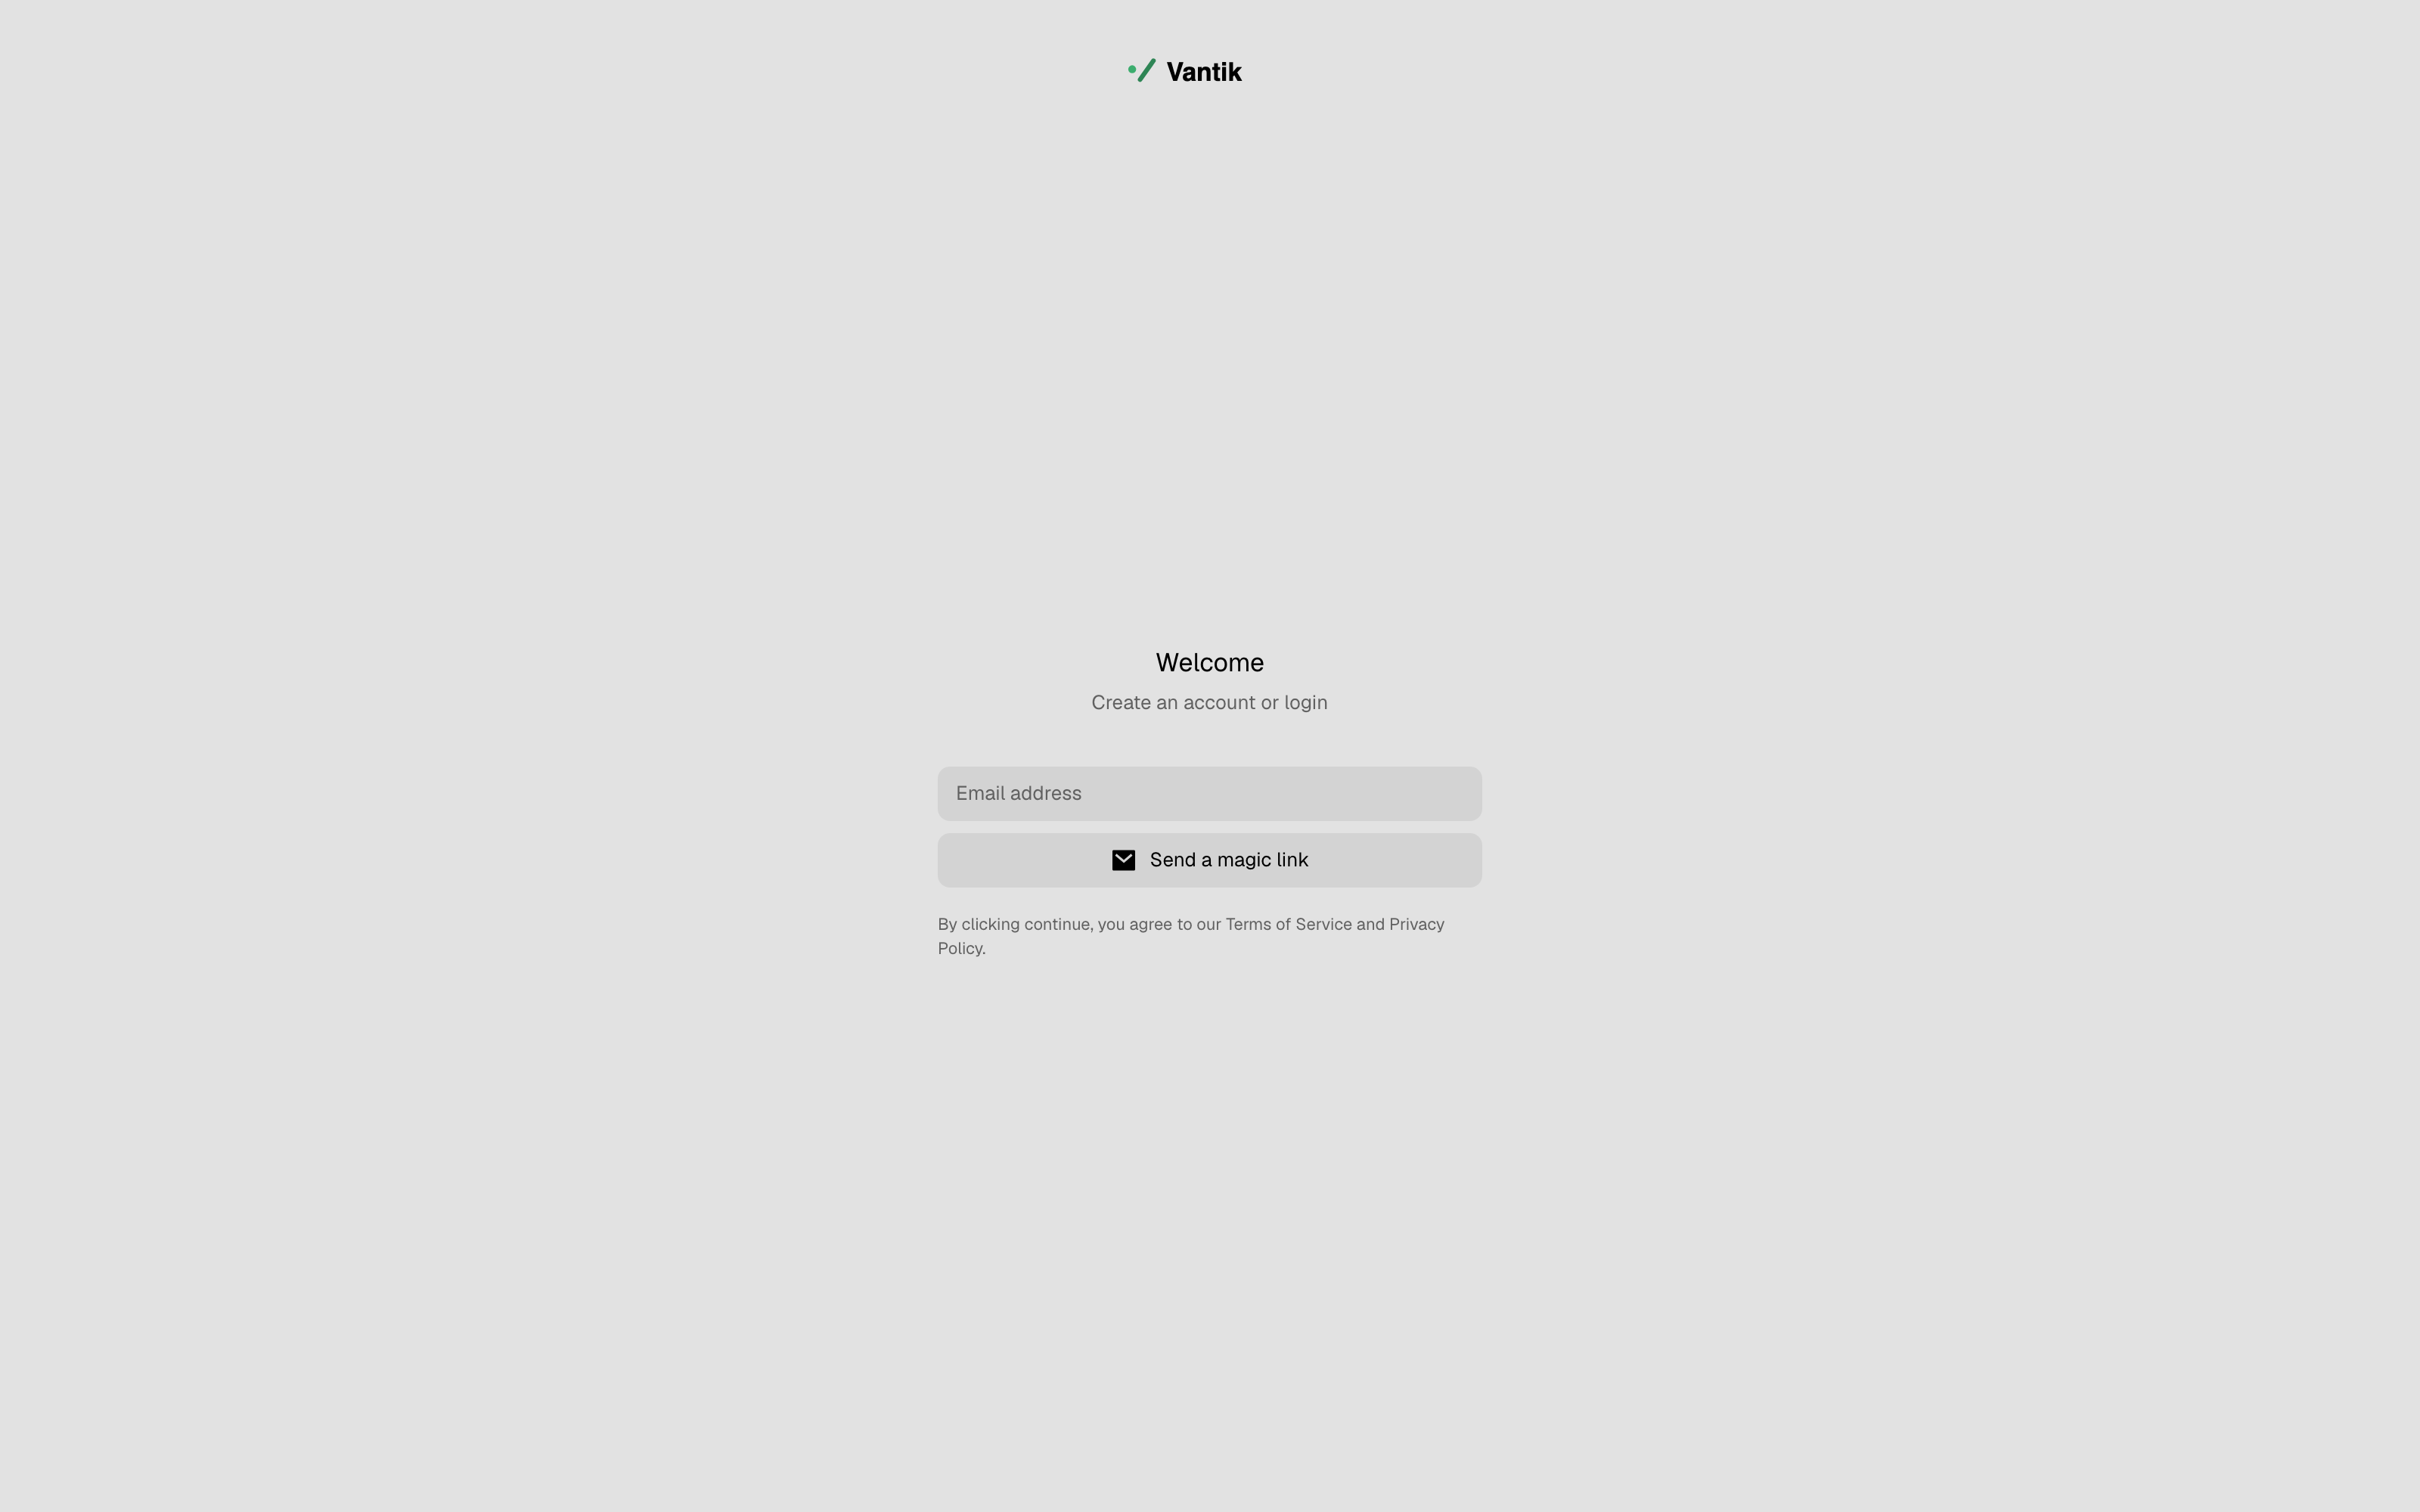
- Open the application. Go to http://localhost:3000. The login screen appears. Type your email address.
- Get the magic link. If your
.envfile has no SMTP credentials, the server sends no email. It writes the magic link to the log from step 4:
Sending email to [email protected] with subject Log in to Vantik
Magic link: http://localhost:3000/auth/verify?token=...
Copy the link into your browser, and sign in.
A passkey replaces step 5 and step 6. Select Create an account with a
passkey. Then authenticate with Touch ID, Windows Hello, or a security key.
The server sends no email, and you read no log. WebAuthn treats localhost as a
secure context, so this method works without TLS. See
How to sign in.
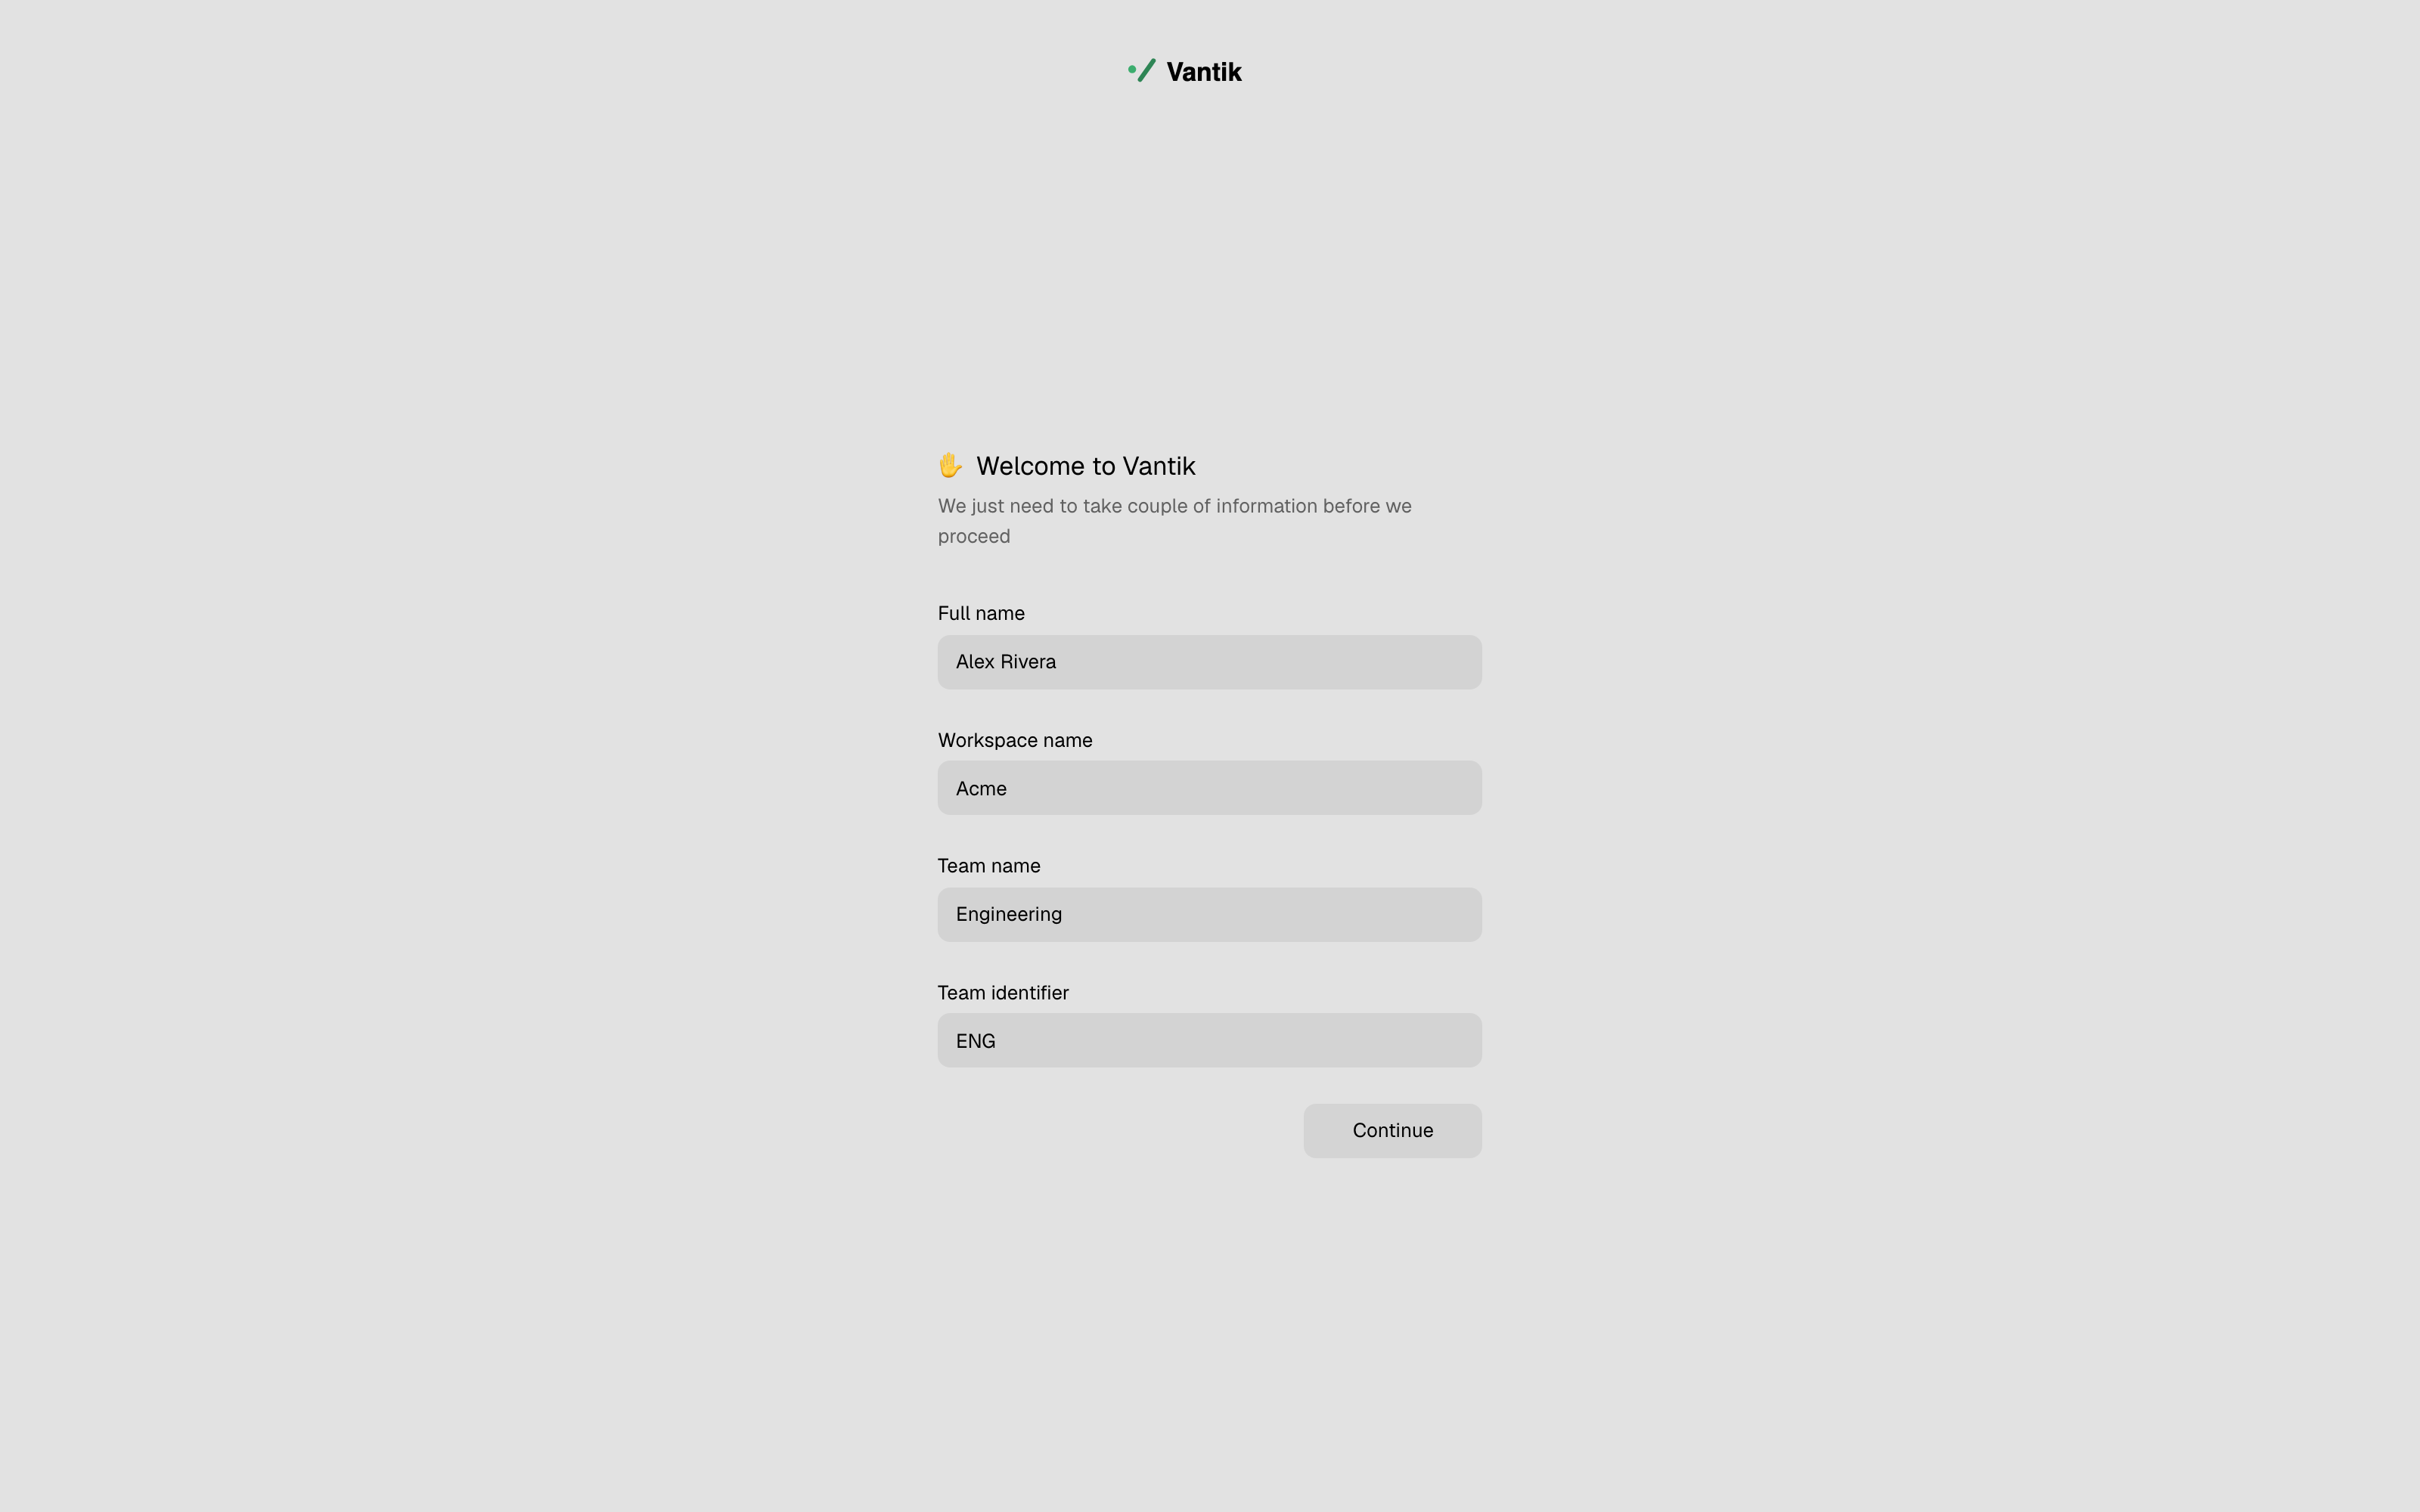
- Give your details, and set up your account and your workspace.
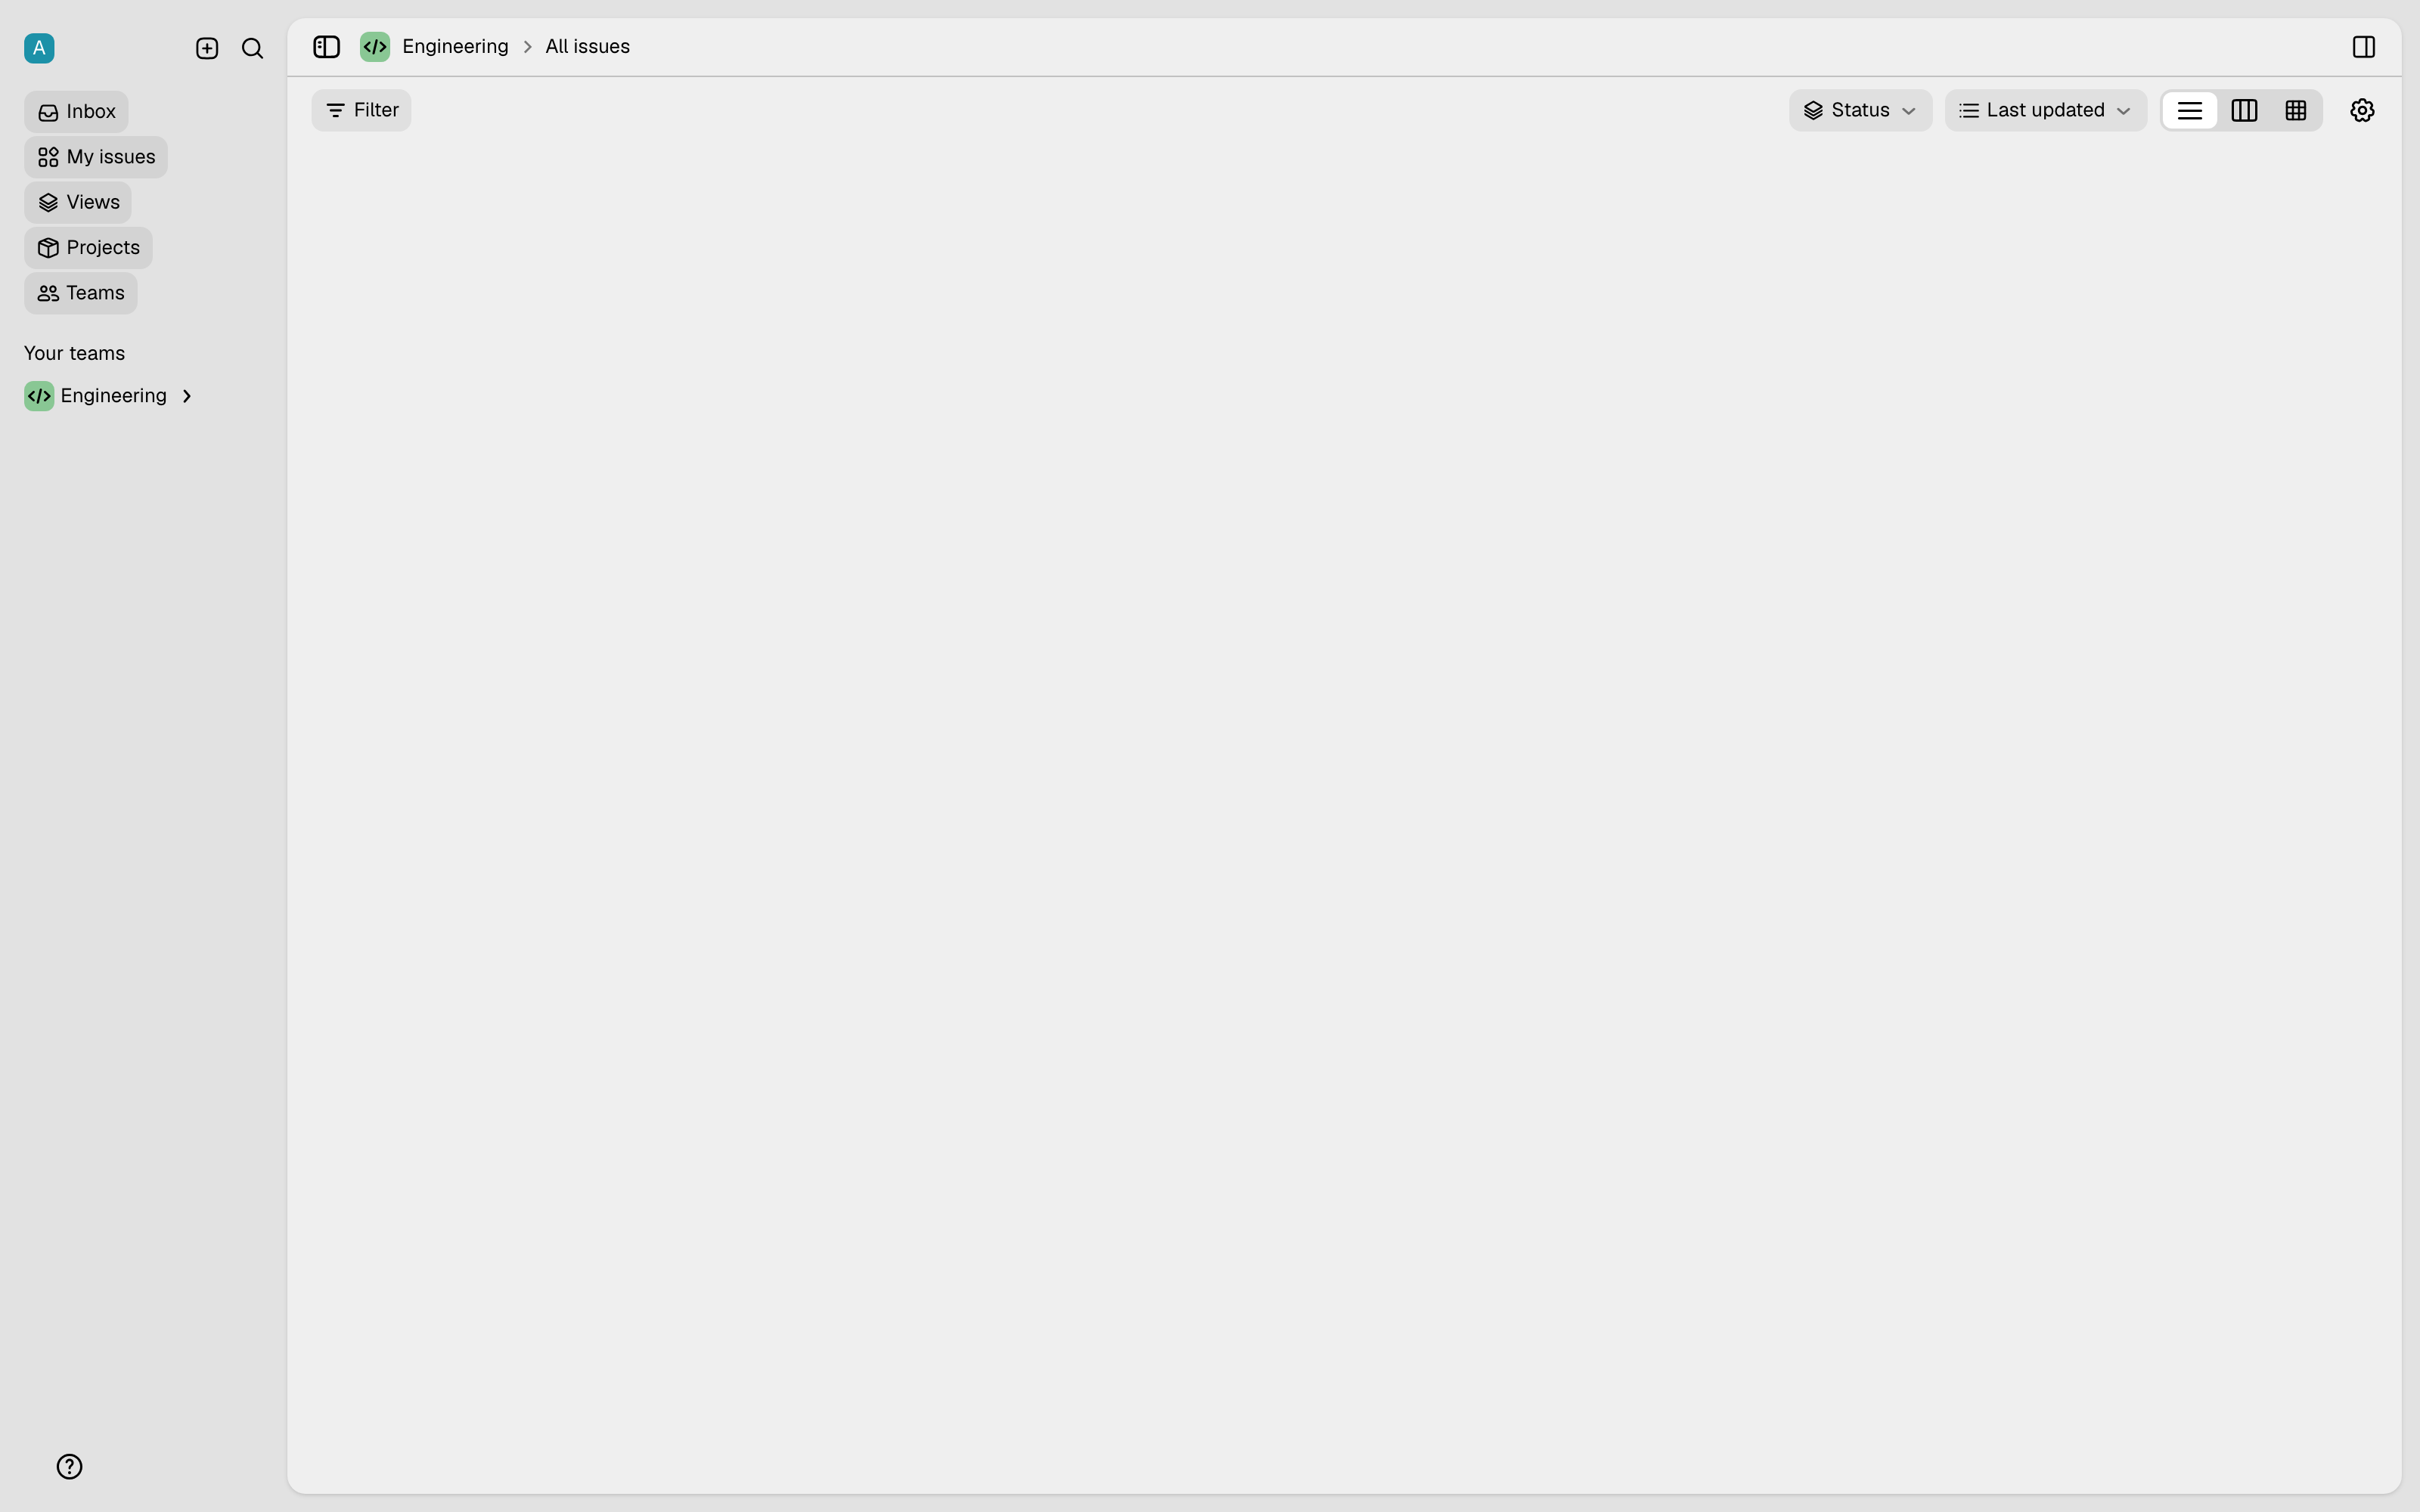
- Create your first issue. Your workspace now looks like the image below.
Press
Cto create your first issue.
FAQ
If this page does not answer your question, open an issue on GitHub.